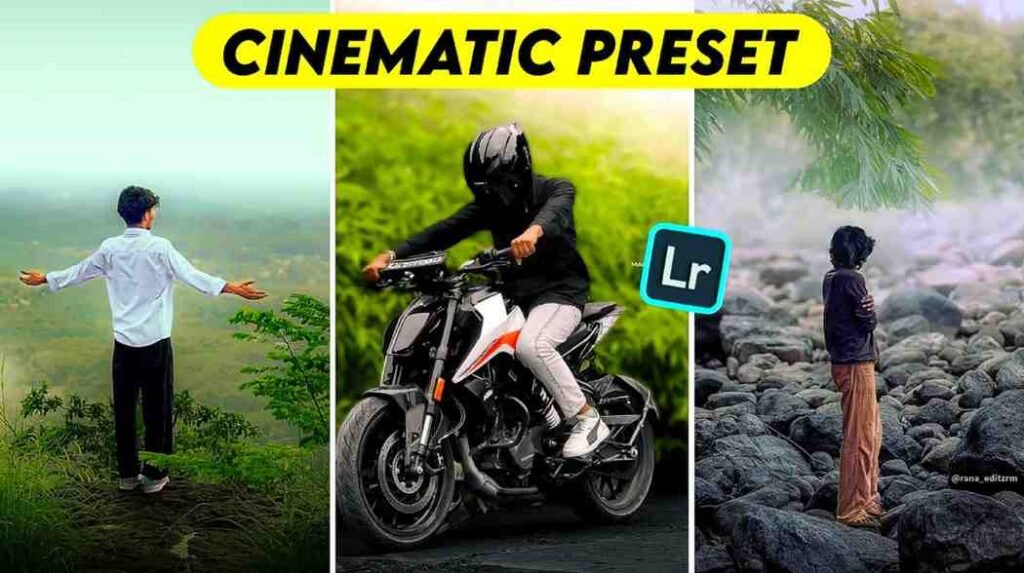
Do you want to make your normal pictures look like a movie? Then this cinematic fade lightroom presets is just for you. Many times we take good pictures with a very costly phone but we do not feel happy. We think the picture does not have that magic or filter which big photographers on social media have. I understand your problem very well.
There is no reason to worry. Today I have brought such an easy fix for you which will change the whole story of your picture. By using this new cinematic lightroom presets you can change the look of your picture in one click. You do not have to think about color grading for hours. Just one click, and your picture will become completely professional level.
Actually, when I was learning editing for the first time, I searched a lot and came to know about these things. Today I will chat with you about that cinematic lightroom presets. I will explain everything very simply, so that even a small five year old child like you can understand my words. So let us start this great talk today.
About lightroom app
What is the Lightroom app actually? It is like a magic wand with which you can decorate your picture as you like. It is mainly a photo editing software or app. If you want, you can fix the light, color, and shadow of your picture in your own way through this app. It is so easy to use that anyone can work with it.
Nowadays all the beautiful pictures you see on social media are mostly edited with this app. It makes the picture more beautiful without making the quality bad at all. A small list about this app is given below, so that you can understand how popular it is.
| Subject | Details |
| Name | Adobe Lightroom |
| Maker | Adobe Systems |
| Release date | 19 February 2007 |
| Total installs | More than 100 million on the play store |
| App type | Photo editing and color grading |
| Topic | Photography, preset, and retouching |
What is Cinematic Fade Lightroom Presets
A question must be coming to your mind, what is this cinematic fade presets thing actually? I am telling you in very simple words, listen. Suppose you are watching a movie. In the movie scenes, you will see a light shadow or fade effect. The colors do not hurt the eyes, rather there is a soft feel. Bringing that same feel to your picture is its job.
Fade means making the colors a little soft or light. This is actually some settings saved from before. A perfect balance of light, color, and contrast is made in it. Whenever you use this cinematic preset lightroom, your normal picture will also look like a movie poster.

You do not have to think about any color separately. A magical tone is given in these presets, which is very comfortable for the eyes. Be it daylight or a night picture, this tone fits very well everywhere. In one word, giving your picture a magical look is its main job.
How to Install and Apply Cinematic Fade Presets in Lightroom Step by Step
When the talk comes how will you use lightroom presets? It can be any type of preset. Red, green, blue, cb or our cinematic street presets lightroom mobile of today. But the method is only one. I am explaining it to you very simply.
First you have to install the lightroom application on your mobile. If you are a play store or iphone user you will get it very easily from the app store. Then open the app and make an account with your gmail id.
After the account is made when you open the application you will see a blue color button below. There will be some options like camera, gallery. From there you will go to the gallery and add the picture you want to edit. And along with that you will also add this preset given by us today.
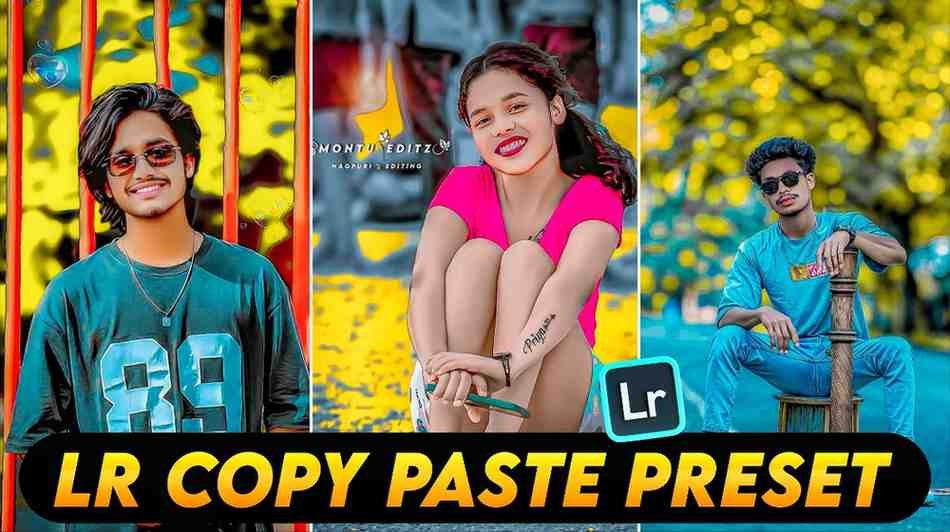
Then first you will open the preset given by us. You will click on the three dot option on the top right side of the screen and do Copy Settings.
Then you will open the photo you want to edit. You will see three dots on top of that too. Going there you will make it Paste Settings.
Done. By using this small method your photo will be edited in a very short time in just one click. After this you can do customization as you wish. If you feel that you will change the color anywhere, increase the light or decrease the contrast, you can adjust everything in your own way.
Key Features of Professional Cinematic Fade Presets
What is in these presets that makes them so special? Why does everyone like them so much? Let us have a look at all its great features.
- Full HD Quality.
- Free to use.
- Comfortable in mobile and PC.
- No Watermark. Premium preset. Easy one click apply.
- Awesome skin tone matching.
- Works perfectly on dark photos.
- cinematic lightroom preset support.
- 100% safe and virus free.
Where to Get High Quality Cinematic Fade Presets for Free
After this when the talk comes where will you get this lightroom preset? Getting this preset is very easy. I am telling you in full detail. Because no one else will tell you this.
If you do not get this lightroom preset today after reading the whole article, then all your time went to waste. So you do not need to go anywhere else.
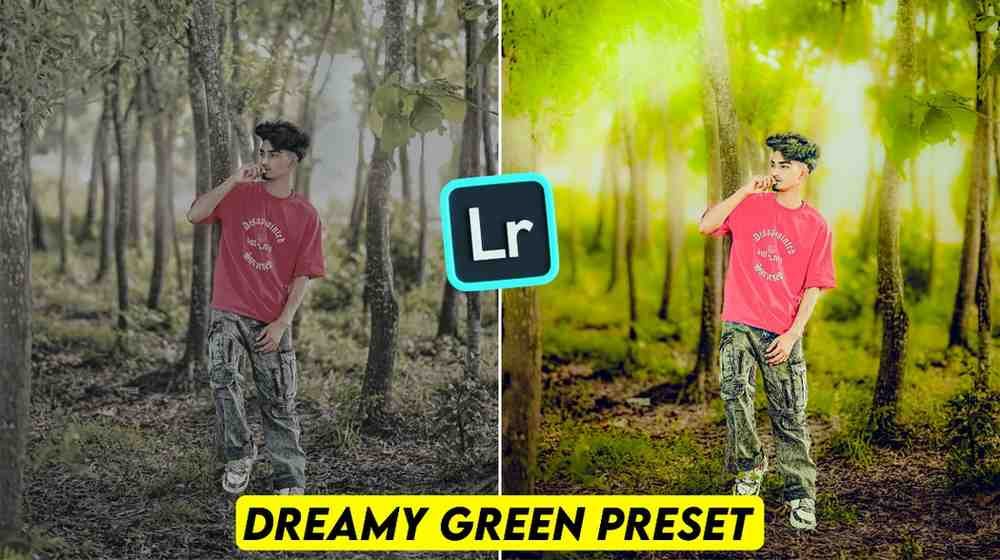
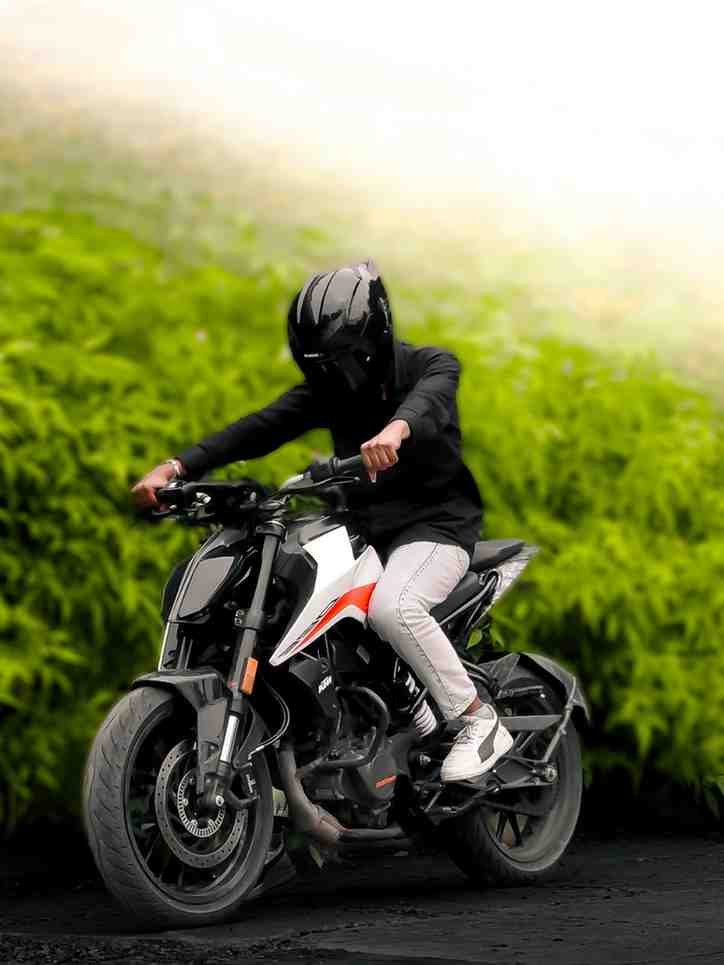
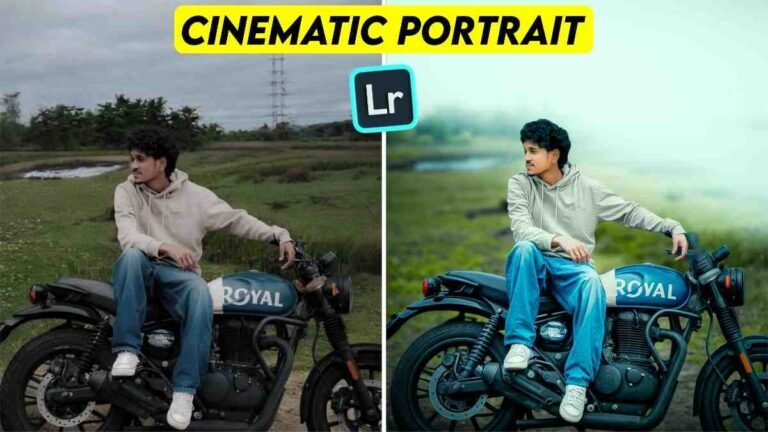
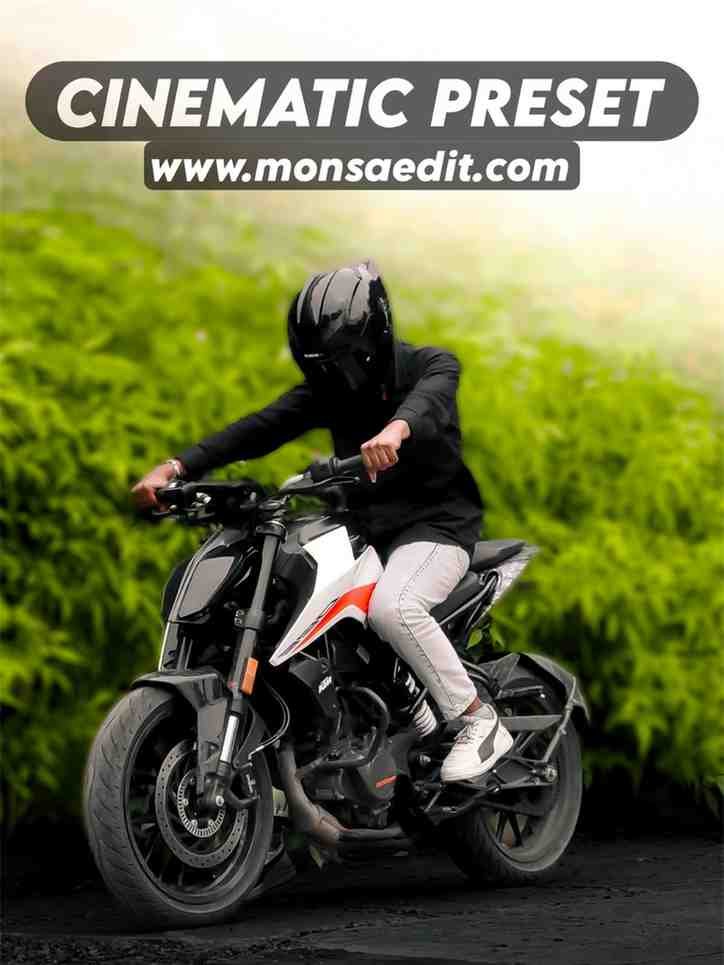
To get the preset you can see a picture of a preset below. Do not save it thinking it is a preset. Because it has been used only as a demo to show you.
Just below that you will find a download button. By clicking on that button you can very easily save this preset on your mobile. Easy, right? You will not have to roam around going to any other website.

My experience and some advice
Now let us come to the real talk. When I first started editing, I had a big problem with this cinematic street lightroom presets. I used to think that just putting a preset will make any picture beautiful. But many times I saw that the faces in my pictures were becoming very black. I used to get angry. I could not understand where the mistake was happening.
Then after searching a little I understood that, the light condition of all pictures is not the same. Some pictures already have less light. Do you know how I got its solution? After pasting the preset I used to go to the light option and increase the Exposure and Shadows a little.
And going to the color option I used to lightly increase the luminance of the orange color in the mix tool. Done, like magic the spots and blackish look of the face would go away. I felt then as if I had won a huge war. You can also try using this little trick, your picture will be absolutely perfect.
Conclusion
I hope you liked reading this talk today. Today we learned a lot of things. Now you can make your own picture beautiful like a movie yourself. This cinematic fade lightroom presets will make your editing journey easier. Also you will search about other tools of lightroom. There is no end to learning new things. I wish that your pictures become wonderful.

Frequently Asked Questions
Question 1. Which is the best preset for Lightroom?
Depending on the mood of your picture, but fade presets are the best for a natural and movie like look.
Question 2. How do I get free presets on Lightroom?
You will get these presets very easily completely free from the download button of our website.
Question 3. How do cinematic Lightroom presets work?
These make a beautiful movie like filter by changing the color grading, light and shadow of your picture.
Question 4. Can these presets be used on mobile?
Yes, you can use these very easily in one click through the lightroom mobile app.
Question 5. How long does it take to copy and paste presets?
This method is so easy that your whole editing work will be done in just one second or one click.