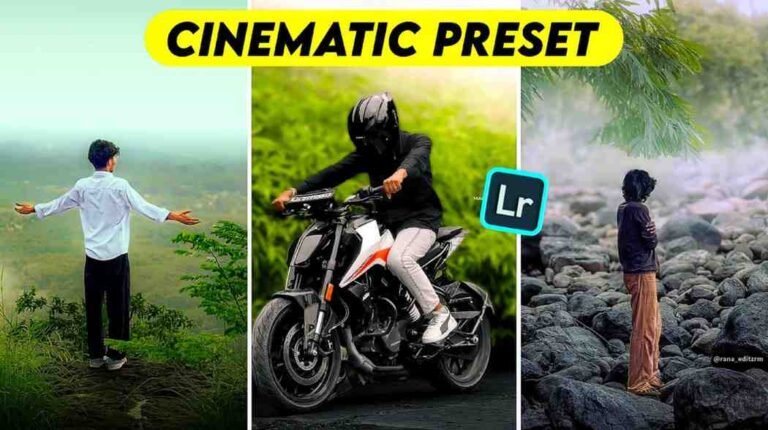
Are you looking for great cinematic portrait photo editing lightroom presets. You took a photo but the background color is not good at all.
I know this happens to everyone. You took a photo with a very beautiful pose, but that pale color of the background ruined the whole photo. It feels like an unprofessional thing. You think if only the color of the photo was like the heroes in the movies.
But do not worry anymore. I Situ from monsa edit have come to you with a perfect solution to this problem.
Today I will teach you a trick where no matter what the background color is it will be professional and look like a movie. I got this magic preset from a photographer friend and I made my ordinary photos extraordinary with it. I have benefited a lot by using it so I thought I would share it with you.
Friends I am your friend situ. I have been with this photo and video editing for 15 years. I have seen and learned many things in this long time. When I first started working lightroom portrait photo editing was a lot of trouble. It used to take hours to fix the color of one photo.
But times have changed now. Now you do not have to work hard like before. You can get great results if you work smartly. Many people like you ask me often brother is there any way to change the look of the photo very easily.
Yes there is. And I am going to share that way with you today. Even a five year old child will understand how to give a magical look to an ordinary photo if they read my small guide.

What are Lightroom Presets
So let us first know what this thing actually is. In very simple words lightroom photo editing presets are some color settings made before. Suppose you went to a shop and bought a ready made dress.
You did not have to go to a tailor to give measurements. Presets are just like that. Brightness contrast shadow everything is set in perfect measure here. You just have to put it on your photo. Your work is done.
I was surprised when I first started using these presets. I thought oh so beautiful editing happens so easily. It is mainly used in an app called Adobe Lightroom. Professional photographers make these for their own work.
System Requirements for Adobe Lightroom
Now a question may come to your mind do you need a very expensive mobile or computer to run this app. Not at all. Today we all have fairly good smartphones in our hands. Even if your mobile has 2 or 3 GB RAM you can run this app very peacefully.
I had a very simple phone when I used to work in the beginning. I used to do great work with that. And if you are an iPhone user then there is no word. You will get it very easily by going to the App Store.
But yes it is very important to have some free space or storage in your phone. Otherwise the app may get stuck a bit while working. For PC also not much is needed. A simple laptop or desktop is enough for you to do your editing work easily.
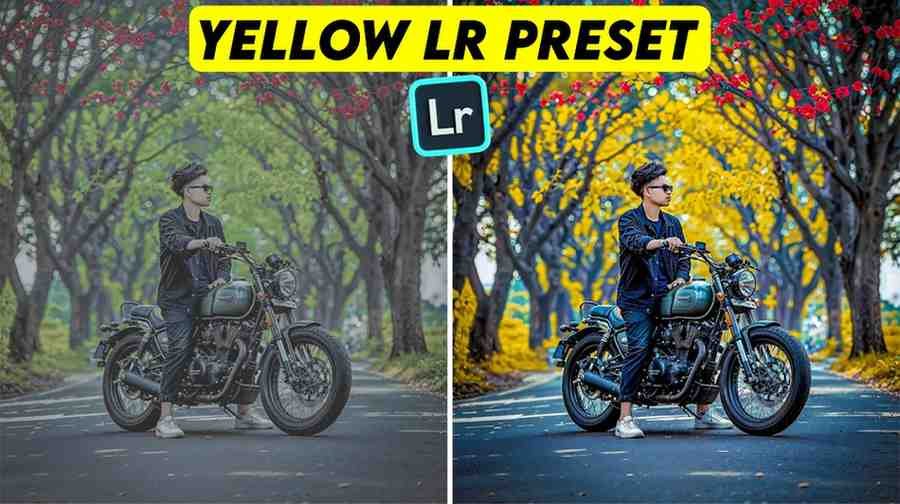
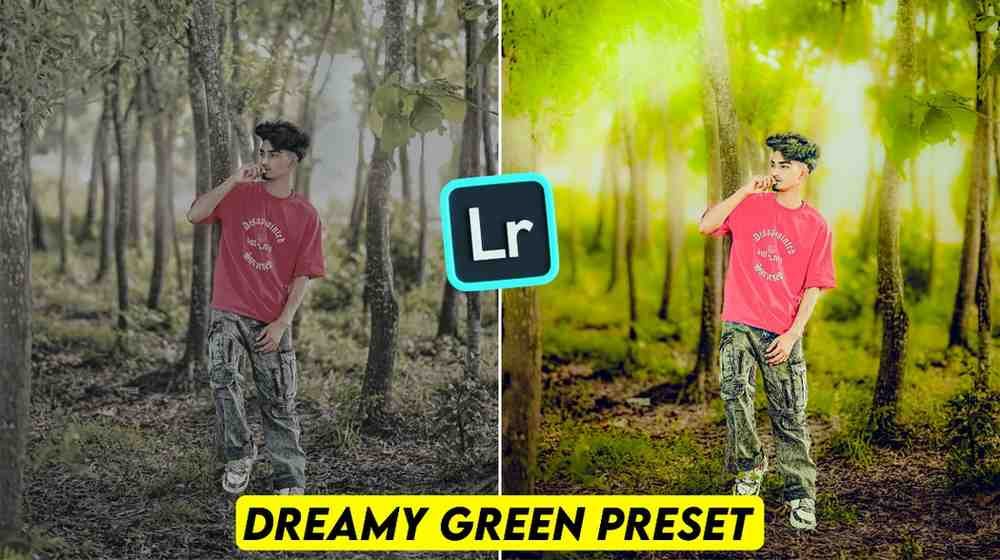
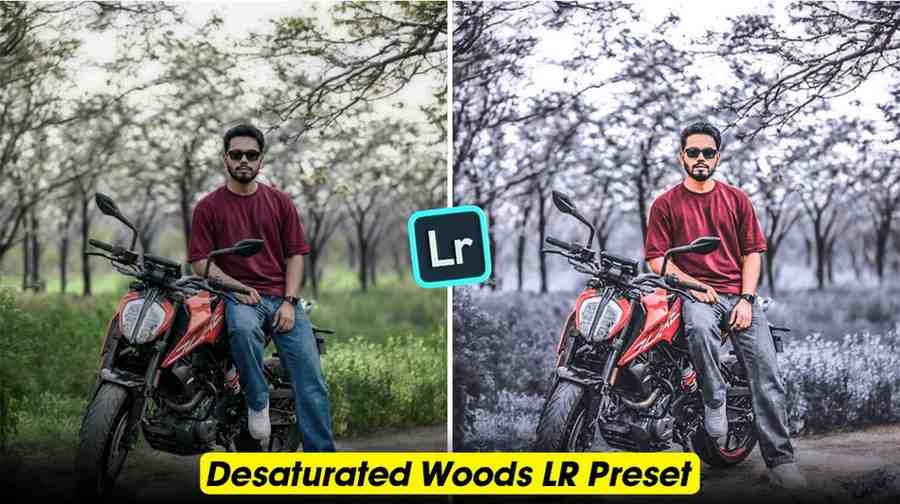
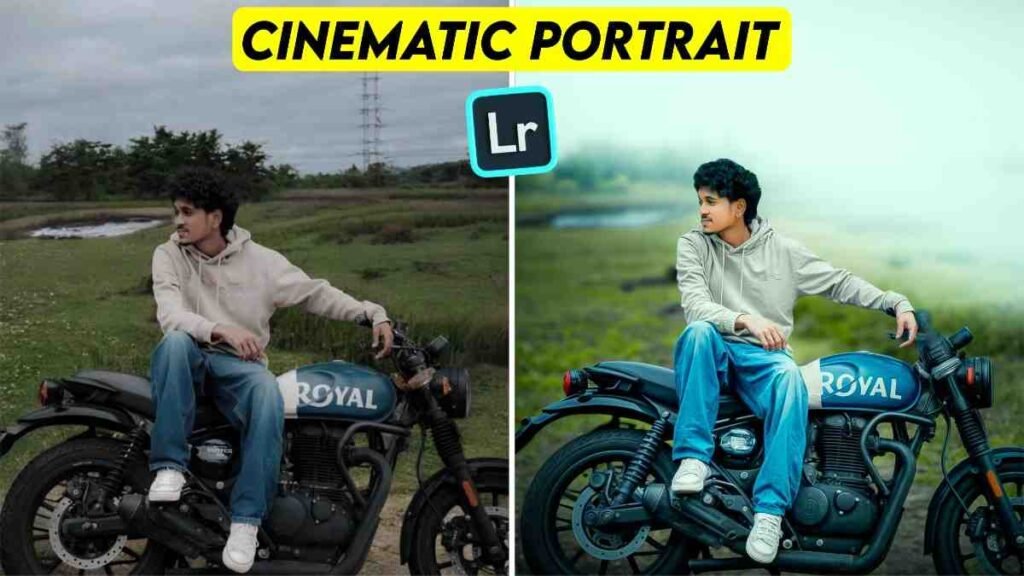
What are Cinematic Portrait Lightroom Presets
Now come to the main point. What is this cinematic lightroom presets thing. You might understand by hearing the name that it will give a look like a movie to your photo. Just like the dark and moody colors we see on TV or big screens.
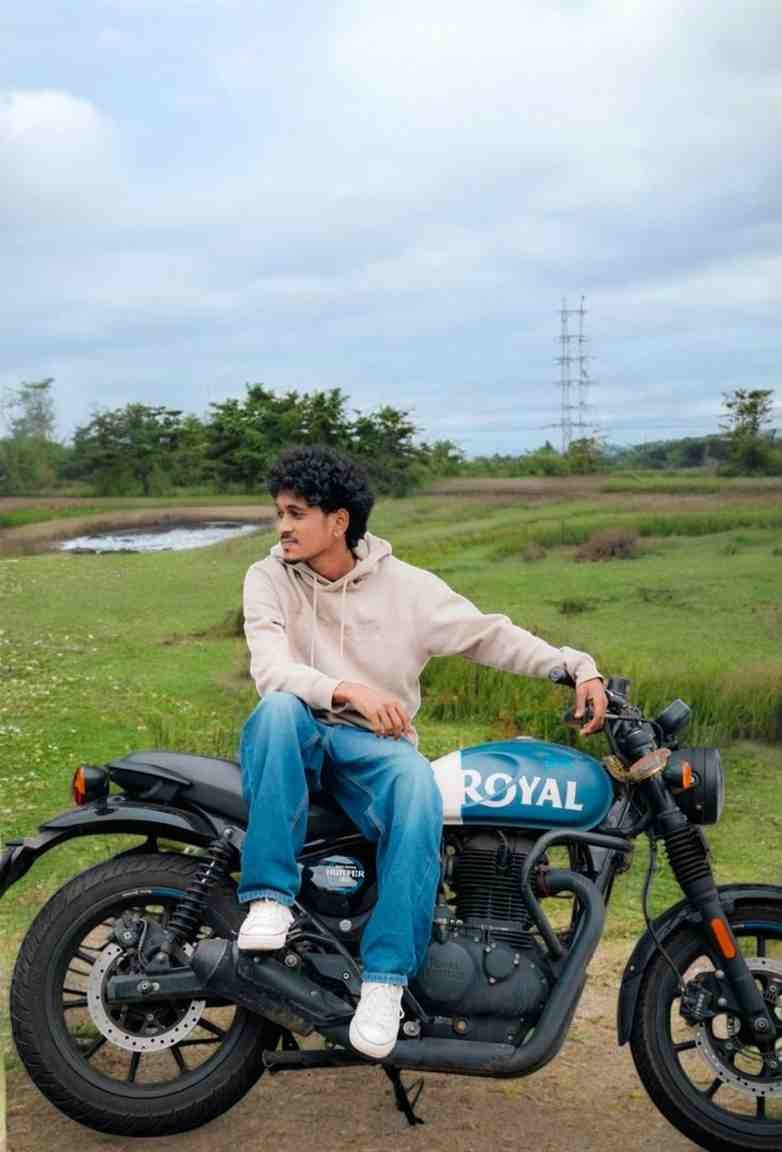
Suppose there is a common tree or a wall in the background of your photo. When you use this preset there that common background will take a professional and mysterious look that will surprise everyone.
A photographer friend of mine gave me this special preset. He told me Rajesh you use it once you will fall in love. And it really happened. My photo quality increased a lot after using this preset. It works great especially for portrait photos. It keeps the skin tone of the face very natural.
How to Install Lightroom Presets
Let me now teach you how to set these presets on your phone. First you have to install the lightroom application on your mobile. If you use Android you will get it from the Play Store. And if you are an iPhone user search in the App Store.
Then open the app and make a free account with your Gmail ID. Now come to the main part. A question may come to your mind where will you get this lightroom portrait presets.
Getting this preset is very easy. I am telling you in detail. Because no one else will tell you this. If you have read the whole article and did not get the lightroom preset today then all your time went to waste.
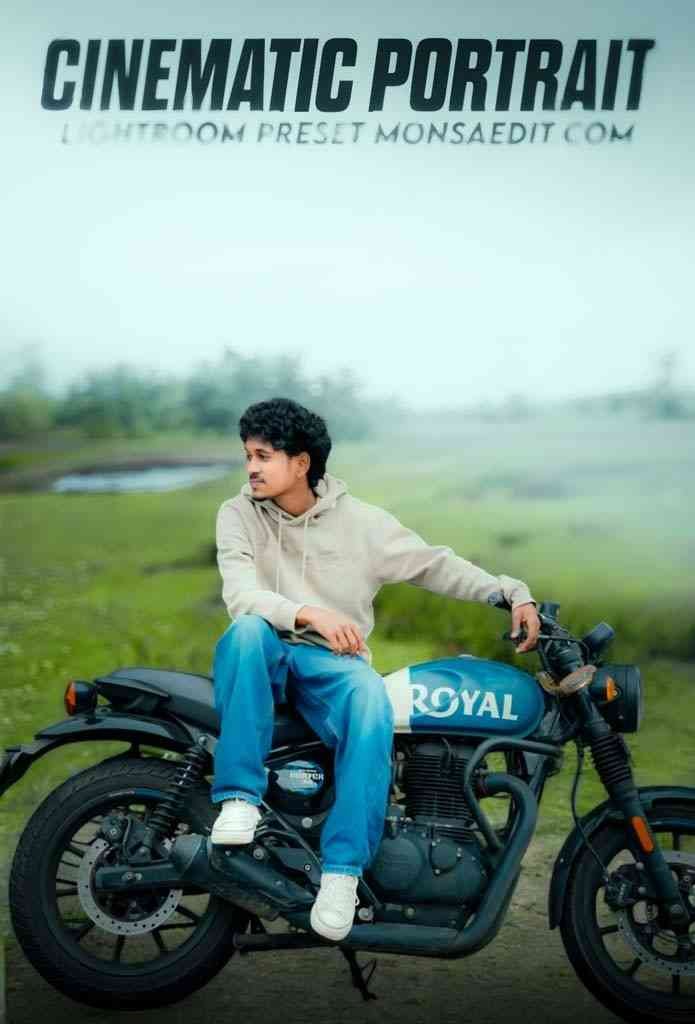
You do not have to go anywhere to get this preset it can be found on my website. I will give a picture of the preset below this paragraph. But keep in mind that this picture is not the real preset it is used here only as a demo to show you.
You will find the Preset button right below it. You can save this preset on your mobile by clicking on that button. Easy right.
These lightroom presets have some great features
- Full HD Quality
- Free to use
- Comfortable in mobile and PC
- No Watermark
- Premium preset
- Easy One Click Edit
- Adjustable Settings
- Perfect Skin Tone Balance
- Natural Background Color Grading
- Safe for all types of photography
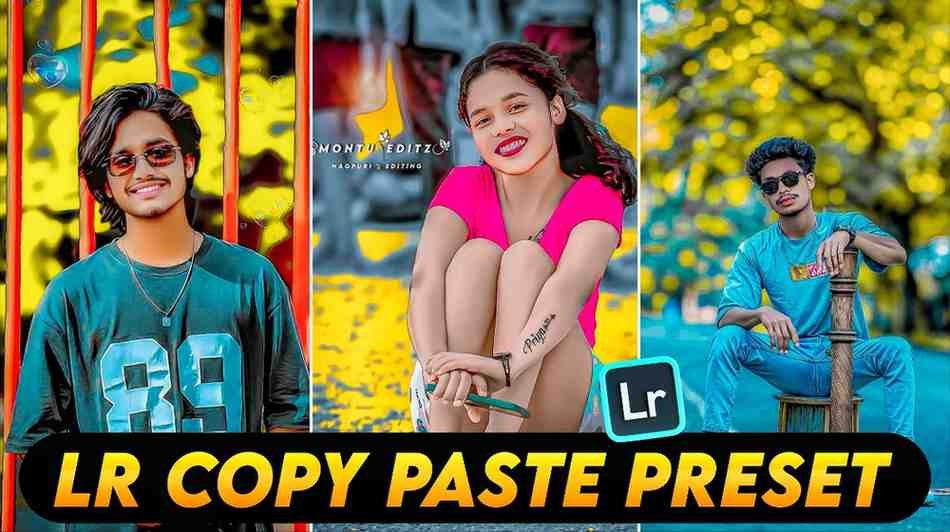
Step by Step Guide Applying Presets to Your Photos
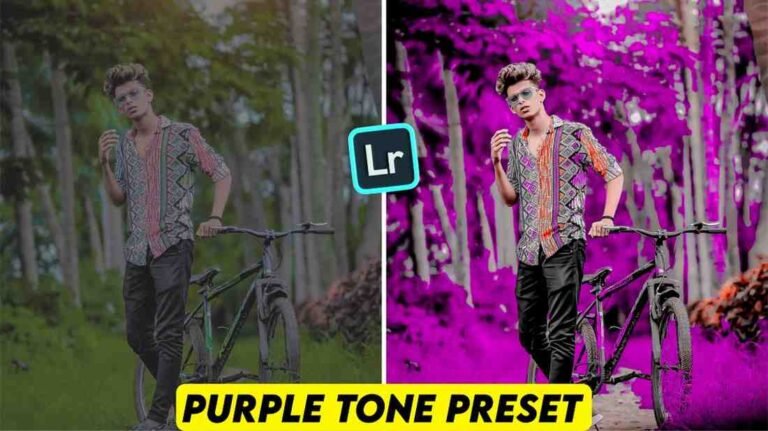
You got the preset but how will you put it on the photo. When the talk comes how will I use the Lightroom Presets. It can be any preset Red Green blue cb Cinematic or many more. But the method is only one.
When you open the application you will see a blue color button below where there will be a gallery option. Add the photo you want to edit from the gallery. Also add today our lightroom preset.
First open our preset. Click on the 3 dot option at the top and do Copy Settings. Then you will see 3 dots on the photo you want to edit. Go there and do Paste Settings.
That is it. Your photo will be ready in just one click if you use this small method. Many people ask how to make cinematic presets in lightroom. It takes much time to make it yourself so this copy paste method is the smartest thing.
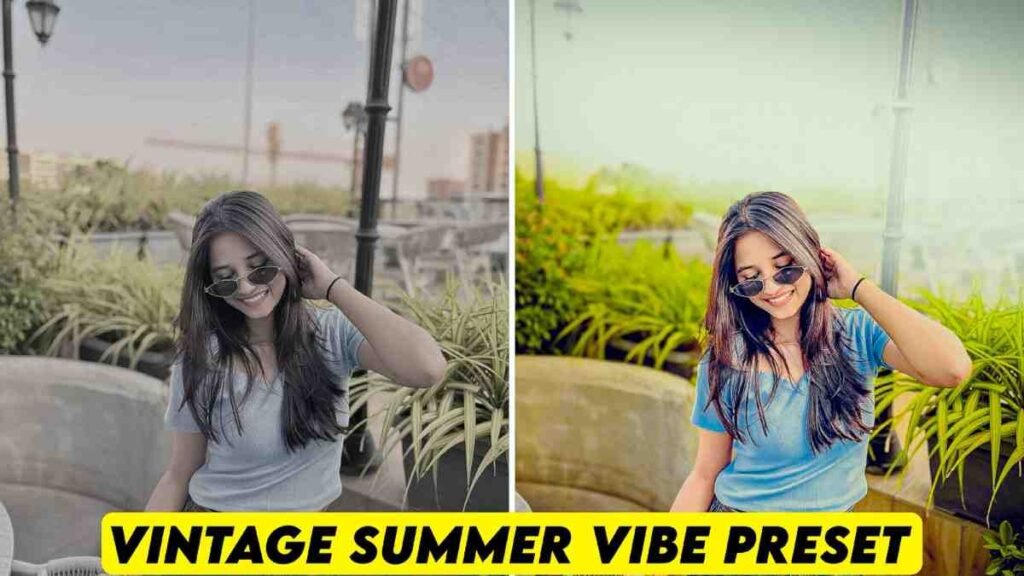
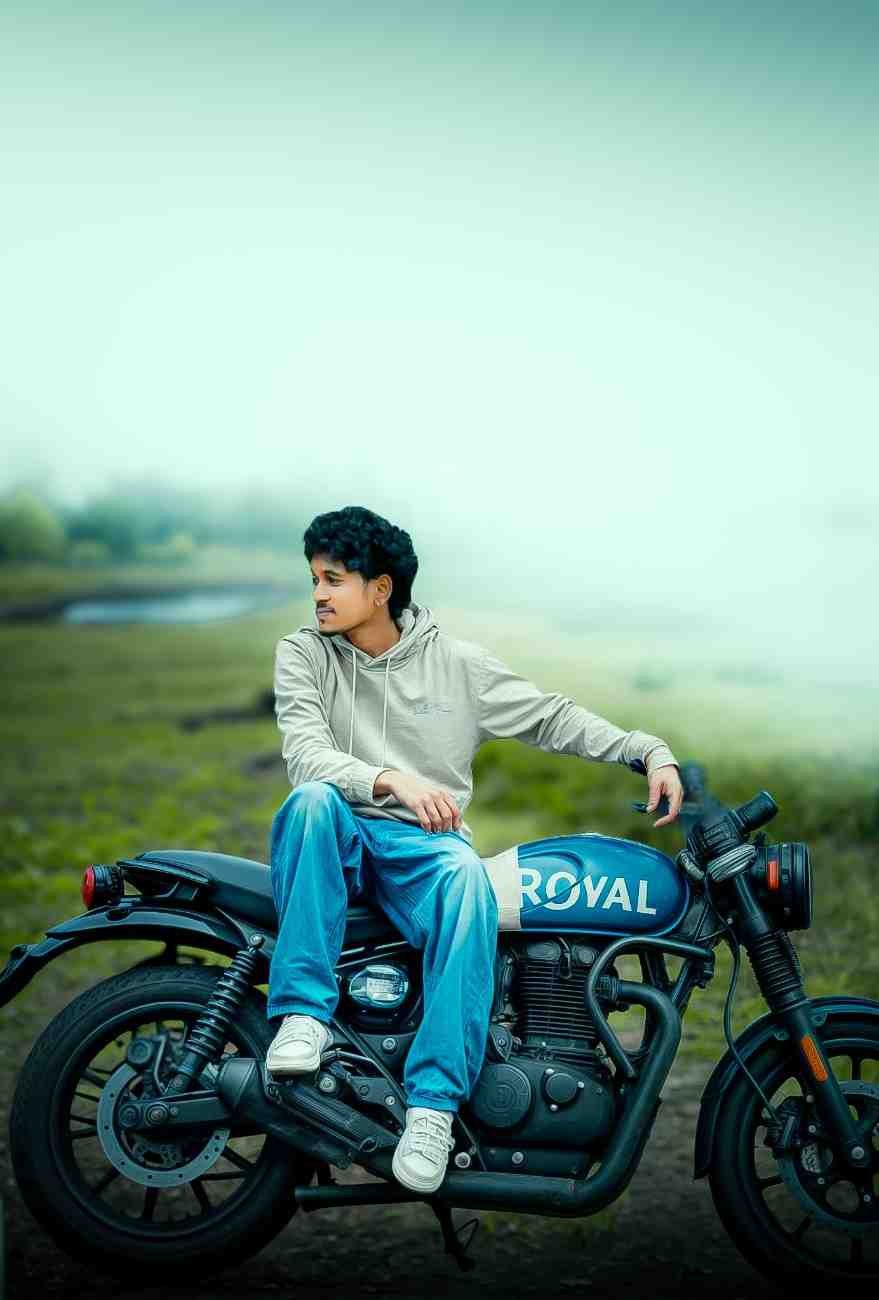
Before and After Comparisons
If you keep the photo before editing and after editing side by side you will see a huge difference. Before the photo might have looked very simple or a bit pale.
But after doing this cinematic editing lightroom magic it will feel like the photo was taken with a professional camera in a big studio. I could not believe my own eyes when I first used it on a simple selfie of mine.
The balance of shadow and highlight of the photo is so perfect that it is hard to explain. Your friends will surely ask you after seeing the photo brother from which studio did you edit this photo. This change changes the whole story of your photo. It makes a common moment very special.
Accessing Your New Lightroom Assets
Once you add these new presets to lightroom they will be saved with you. Whenever you want you can take any photo from the gallery and take the benefit of this lightroom portrait editing.
And do you know another great thing. After pasting if you think that some color has become too much or light is looking a bit low you can do customization as you like.
If you feel you will increase light or decrease contrast you can adjust everything. All control will be in your hand. I will say try moving the sliders a bit yourself by doing this you will learn many new things yourself.
Mobile vs Desktop Compatibility
Many times we think is it possible to do such beautiful editing on mobile like a computer. To tell the truth there is not a big difference between mobile and desktop in case of lightroom.
I rely on my smartphone when I am outside for my work. These presets are made in such a way that you will get full HD quality results on mobile and you will get the same on desktop.
Work is a bit easy on desktop because the screen is big. But the advantage of mobile is that you can give a great look to your photos sitting in a bus or train. This preset works very beautifully on both platforms.
My own experience and problem solution
When I used to go to edit portrait photos in the beginning my biggest problem was the balance between background and skin tone. If I went to fix the color of the background I saw that the color of the face became bad. Again if I fixed the color of the face the background looked pale.
I used to pull those color sliders for hours but did not get results as I liked. I felt very sad then. After that my photographer friend explained this preset thing to me one day.
He showed me how to change only the background environment by keeping the real color of the face using the right preset. After getting this solution my work became half. I want that you also do not waste time by falling in the same problem like me. This is why I explained everything so easily to you today.
Conclusion
So friends I hope you have learned many new things from today discussion. I have tried to explain the whole thing very easily to you. You also can now give a great look to any photo using these cinematic portrait photo editing lightroom presets.
Remember lightroom cinematic photo editing is not a difficult task. You can win if you have the right tool and a little wish. I am sure you have really learned something by reading this article. That is it for today. Edit your favorite photos quickly.

Frequently Asked Questions FAQ
Q1. How do I make my Lightroom photos cinematic
Answer: Any photo can be given a cinematic look very easily by using the right cinematic preset and adjusting the color temperature.
Q2 Are Lightroom presets good for portraits
Answer Yes these presets work great to make the background attractive by keeping the skin tone of portrait photos very natural.
Q3 How do you get professional photos on Lightroom
Answer Professional look can be found in a moment by using high quality photos and pasting settings of the right preset from the 3 dot option.
Q4 How do I save a preset in Lightroom mobile
Answer It gets saved in your app if you click on the Create Preset option from the three dot menu at the top of the preset picture.